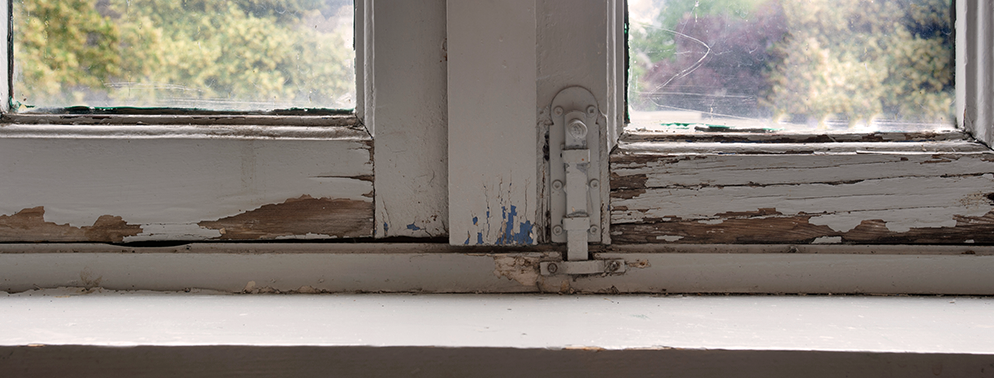
How to diagnose drafts: where old windows really leak
If your old windows feel drafty, the glass isn’t the villain. Air leaks usually come from gaps between moving parts, and from trim-to-wall connections that have nothing to do with the sash at all.
Drafts aren’t “cold glass”—they’re air movement
Single-pane glass is colder in winter, which increases radiant chill. But the “I can feel it blowing” sensation is typically air infiltration, and that’s fixable.
The usual leak locations (in priority order)
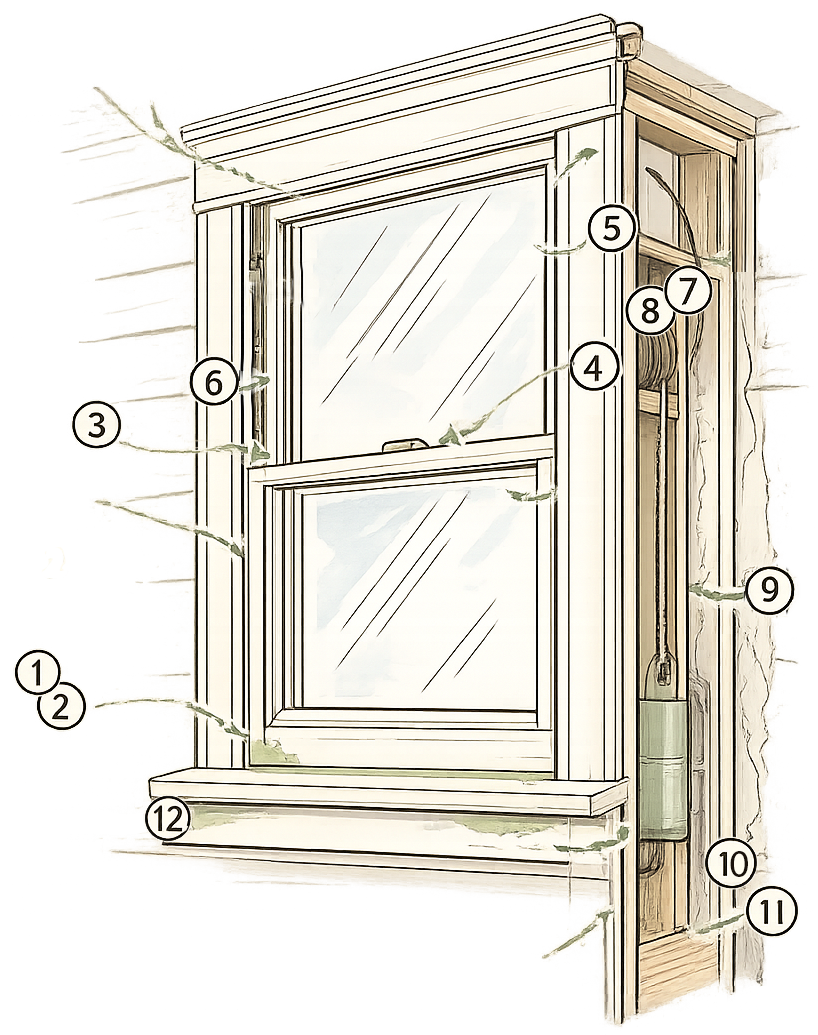
- Between the lower sash and the stool / sill
- Worn sash bottom, missing/failed weatherstrip, out-of-square fit
- At the meeting rail (where upper and lower sashes meet)
- Poor lock alignment, compressed surfaces, missing interlock or weatherstrip
- Along the jambs (sides of sash channels)
- Paint buildup, worn parting bead, no spring bronze/other seal
- At the pulley stiles and weight pockets
- Gaps around pulley, leaky pocket covers
- At the interior casing to plaster/drywall joint
- Hidden gaps behind trim; air bypass from wall cavities (especially balloon framing)
- At the exterior casing / siding junction
- Failed sealant or missing flashing details letting wind wash the assembly
A simple diagnostic workflow (low-risk, high information)
You don’t need fancy tools to learn a lot—just a method:
Step A
Pick a windy day.
Step B
Feel for air movement at the perimeter: meeting rail, jambs, sill line, trim edges.
Step C
Look for “dust highways”—dark streaks where air movement deposits grime.
Step D
Test function—does the lock pull the meeting rail tight? Do sashes rattle?
If you want to get more precise, a home energy auditor can use a blower door to depressurize the house and identify leakage paths—but even then, window leaks may actually be trim/wall leaks.
What the findings usually mean
IF THIS:
CONSIDER THIS:
Leak at meeting rail / jambs →
weatherstripping + sash tune-up (see the weatherstripping article in this series)
Leak at interior trim edge →
careful air sealing at casing-to-wall (best done with lead-safe practices in pre-1978 homes)
Leak from weight pockets →
gasketed pocket covers, sealed pulley area, or conversion to alternative balances (if historically appropriate)
What not to do
- Don’t caulk the sash shut. You’ll “solve” drafts by losing ventilation and creating paint/condensation problems.
- Don’t assume replacement fixes wall-cavity bypasses. Air can still leak around a new unit if the surrounding air barrier is weak.